
By day 6, I finally figured out how to set up my work area with the things I need on hand. Don't know why it took that many days, but it did.

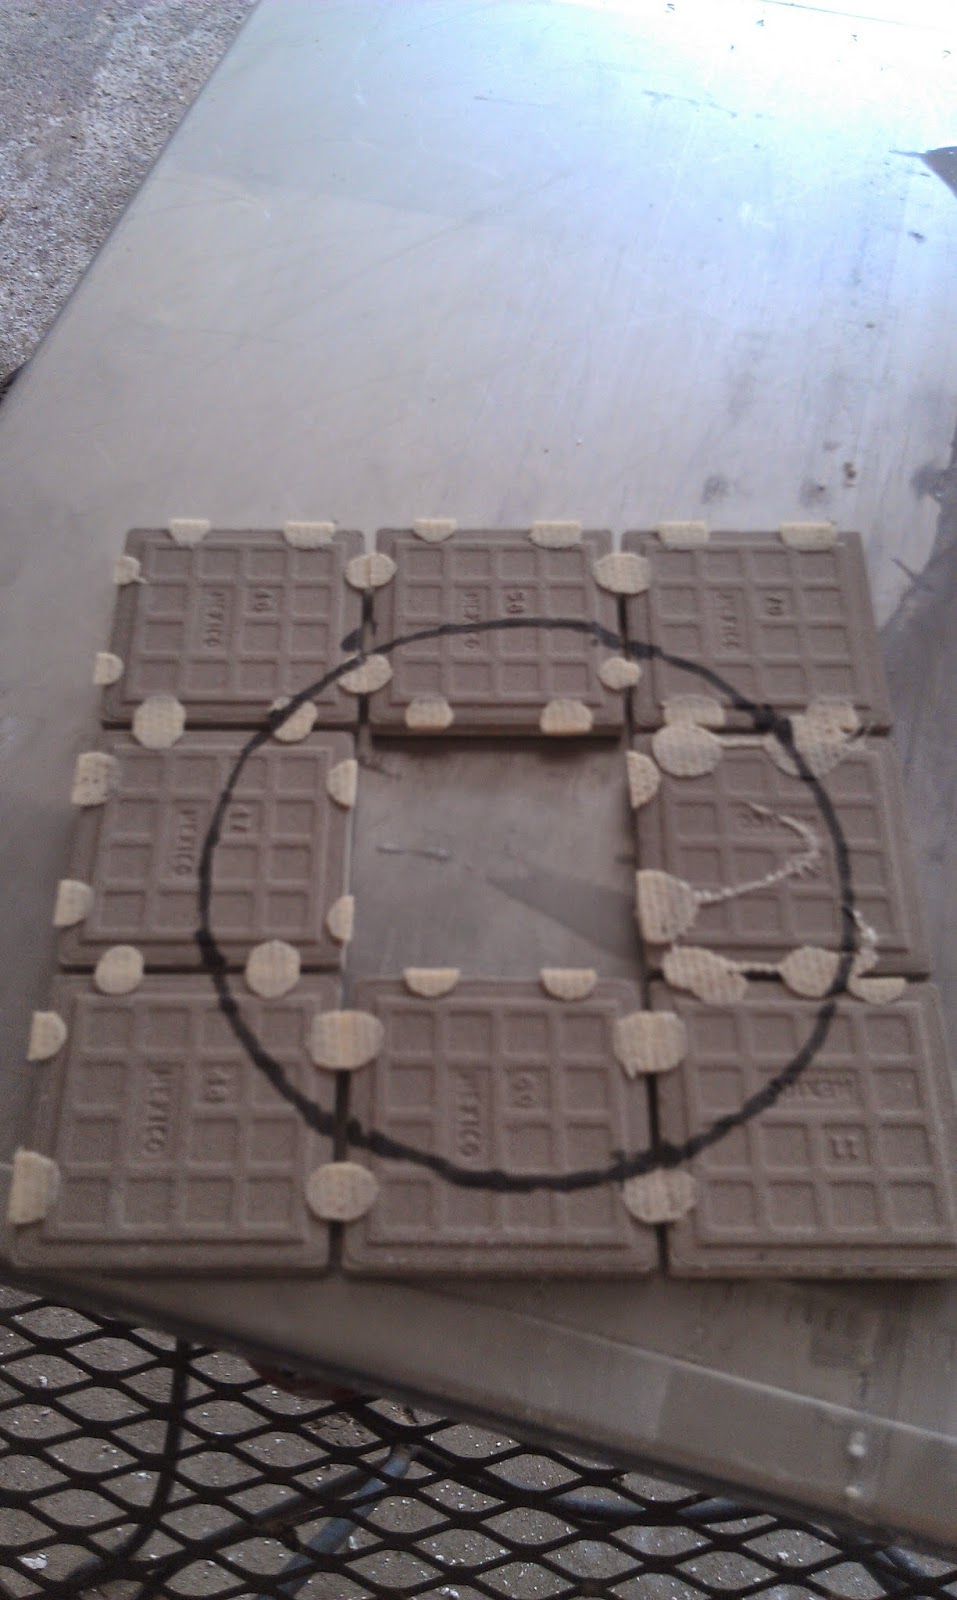
I also finally got the courage to attempt the cuts on the drain area tiles. I used some hand held clamps to hold the individual tiles and used the wet saw to carve out the tile parts not needed and to 'shave' it as smooth as I could. (It's not smooth, but I'm happy I got some curve out of it.)
  |
| I have painter's tape on the drain to protect it for now |
Another area of the shower that has challenged me is the niche. I decided to use wood for the shelves and tile around it to make it water resistant. I set up all my tallest shower products and determined the largest shelf area - about 12 inches. Next I debated on adding an additional shelf. With our daughter needing a shelf for toothpaste and the need to store shaving supplies, I chose a shorter shelf in the middle - about 5 inches. For mid-size products, the top shelf should hold them. I set up 8 rows of tiles, then realized I could add another row. That makes about 9 inches for the top shelf.


I actually found free glass tile mortar at the Habitat Restore. I didn't know how long it would last, so I decided to plan out all my mosaic tile layouts before I mixed it up.

 |

One challenge I really didn't want was cutting glass tile. I heard it was difficult. When I laid out my mosaic tile, I was able to do it so that the only tiles I needed to cut were those that were not the glass tiles. I cut those tiles in half using the wet saw while holding them with metal hand held clamps. I'd show you how I did it, but I don't think taking a picture by myself while using the wet saw is a good idea. I'm happy to say I have all my fingers even if they are a bit beat up.

I have yet to grout any of the surfaces I tiled, but I'm happy to say I completed adhering all tiles.


 |
| Back shower wall |
 |
| Niche wall to the right |
 | ||||
| Wall where the shower head and faucet will go to the left |

No comments :
Post a Comment