Navigation Pages

Thursday, March 27, 2014

Bathroom - A little spring fever coming on


I have allowed myself up through the end of April to get through the bathroom portion of my 3 room challenge.  I'm on target of course since I've decided to only do half of the room.  It has been exciting to make progress, but this time of year it is getting tough to keep focus on interior projects.  Our weather here has helped in the sense that the temps have been hovering around the freezing mark. 

Even with the freezing weather, my mind has been turning to other things...visiting our daughter in Ohio, getting taxes done (yuk!), thinking about the last room of this challenge, keeping on budget on this challenge, when will I be able to rake the leaves we left on our lawn last year (there were a bunch), when can we open the cottage, and boy, do I have a lot of clean up to do before even tackling the last room.

It is hard to say what the biggest change is for this bath remodel.  I thought it would be fun to attempt a time lapse photo presentation, so I've been taking shots since January and trying to keep the camera at the same angle.  It's been on a tripod, but I've had to put it away every day.  The pics have been taken at various times of the day so lighting varies, but take a look at this:


Installation of my beautiful counter top

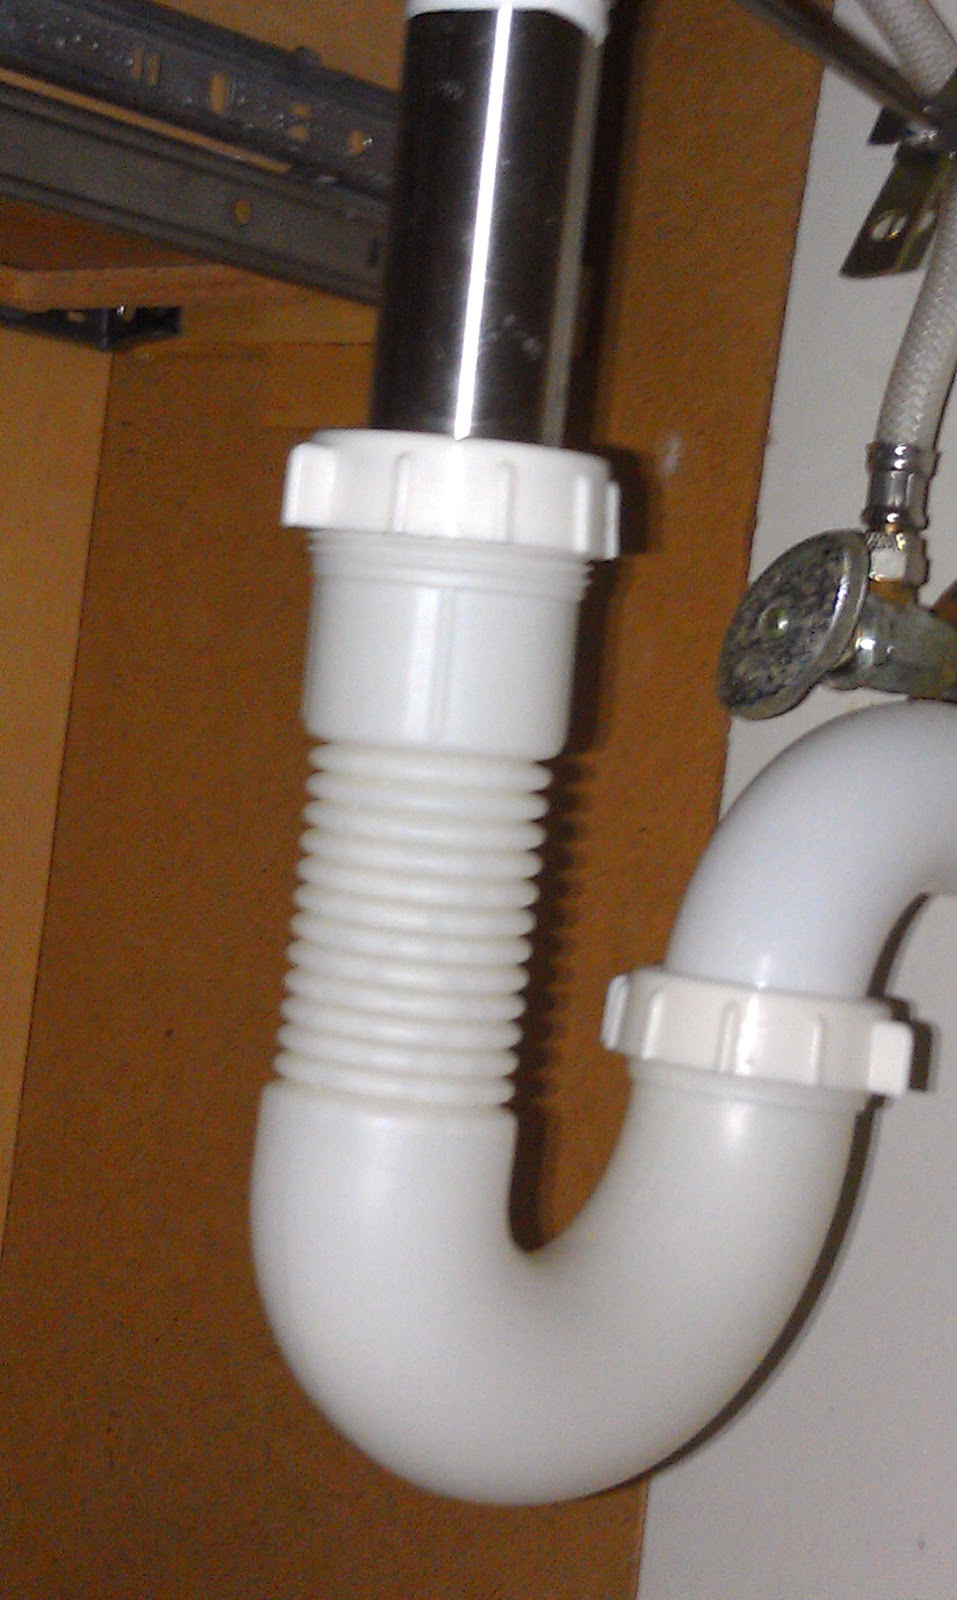
Drilling holes into the bottom of the counter top was stressful.  I needed to do this to install the pieces that would hold the screws in place for the sink supports.  I started out with a drill bit that I thought was a masonry bit, but after almost 1/2 hour alternately drilling and putting the bit into cool water to keep it from melting off, I decided to look up what a masonry bit is.


Notice the tip - this IS a masonry bit
Smoother tip - NOT a masonry bit


With the right drill bit and some patience, I drilled 4 one half inch holes in about 1 hour without breaking the bit or the counter.


After installing the faucet on the counter and the counter on the cabinet and the sink under the counter, we found our drain was not in line with the existing pipes, so I sent Don off to the hardware store.  Three trips later and a bunch of extra parts, we found the right combination to allow the faucet to run and not leak.


What's next?  

The electrician is coming back to do the final switch hookups and to install my lighting.  Which of these lamp shades do you like best?  The one on the right came with the lighting fixture.  The one on the left was a find at St. Vincent's in Verona.


I'll add the mirror after that and make a roman shade for the window.  After some clean up in the shower area on the other side of the room, adding accessories (towel bars, towels, etc), and adding up receipts spent on this room, I'll be able to call this portion of the challenge done.

Can't wait for spring, so here is a little of it, thanks to photobucket.com.

Couldn't resist this one!

Hope you'll check back in two weeks.  I should be sewing up a roman shade.


Wednesday, March 12, 2014

Bathroom - Bring on the Green!

With Saint Patrick's day coming up, I tried to think of some clever story to bring you through this post.  Clever or not, I'll liken this post to a good pot of Irish Stew.  I have but a few ingredients, but the end result is a tasty mixture that fills me with warmth and even has a pot of gold at the end (of this post).  Let's get cook'in!

The Meat

This is the main feature of my bathroom.  In my last post, I stripped this base cabinet along with the taller tower cabinet (not shown) to the right.  Here it is fully stained including the 4 inch structure added to the top to raise the overall height.  I wanted to add storage here, but 4 inches wasn't enough for a drawer or a cut out.  I used 3/4 plywood for the frame and 1/2 inch oak for the face.


Carrots

Those little orange pieces that add color and brightness - I had a mixture of brass and bronze ones - drawer pulls, of course!  I set up a spray painting station in my basement since it is 20 degrees outside at most.  It consists of a large box opened up and lined on the bottom with paper.  I laid out the hinges directly on the paper and placed the drawer pulls on cardboard by punching holes for the screws so that the pulls would stick up a bit for easier paint coverage.


I also had a brass towel bar and towel ring, plus a silver robe hook to paint.  I took an old steel dowel and pushed it through the towel bar balancing the ends on the edge of the box.  This, again, made it easy for me to spray all around the bar.  I used steel wool on all the pieces I painted, rubbing off the shine so that the paint would stick better.


I used the entire can of oil rubbed bronze metal paint on all the above.  I also purchased a spray paint for plastic in white to cover my heater vent.  Now that I think of it, that heater vent used to be white before!  I had sprayed it antique bronze to match the old metal finish of the drawer pulls.  White is so much cleaner looking for a bathroom especially since I'm painting my base board trim white.


Now for the filler - Potatoes

The filler for this project - Wood filler!


Since I planned to paint the door to match the trim, it was time to fill in the chipped edge.


I lightly sanded the door on one side only with 100 grit sand paper and cleaned it up with Tack Cloth.  Tack Cloth is a wonderful product.  It lets you remove all the powdery sand without wetting down the wood.
 

Seasonings - Pepper and Salt

It's back to the pot, or in this case, the spray painting station.  I sprayed the door's hinges, door knob, and hook.  I will replace the trim on the right side of the door after installing the counter top.


Onions

Have you ever peeled an onion, layer by layer?  For this stew, I brought in a couple more layers to test paint colors.  I started with Sherwin Williams Wheat Grass made up for me at Home Depot using Glidden paint.  I lightened it with Swan Wing - a color I've used on the exterior of our cottage windows.  I had it on hand and liked the idea of going lighter.  You may not be able to tell, but this is the GREEN I promised to bring on!  It does have a lot of yellow in it, so I'm not going entirely Irish here.  Aren't you glad?


The material draped loosely over the window is going to end up being a roman shade, but for now, I needed to make sure the paint color will match the fabric.  I really like this fabric and at 27.00 a yard, I'm using it.  Paint can be changed.


When I tested the paint colors, I mixed 5 parts Wheat Grass with 1 part Swan Wing.  I ended up adding another part Swan Wing to go even lighter.  It really wasn't a big change.  I also added a solution to retard mold and mildew.  I used my safety glasses this time.  The label said it can cause irreversible damage if it splashes in your eyes.  Luck of the Irish or not, I played it safe.


Before painting, I had to do some drywall repair in a couple of places.  This is the large hole the electrician made to install the receptacle that will be for the main light over the mirror.  I surprised myself and did a pretty good job, if I do say so myself.  I must have done 4 to 5 layers to slowly build up the surface since my drywall patch was a bit recessed.


The ceiling including the shower got about 3 coats of Swan Wing.  The walls got 2 coats of my Wheat Grass mixture.  I covered my cabinet with plastic before starting.  More safety measures, this time to protect my hard work staining.

Before
After


At last the pot of gold!

Okay, this isn't part of the stew, but we had to have a pot to keep up the Saint Patrick's day theme.  I wanted a new white toilet, but budget has me waiting on this.  I had Don remove it before I painted.  It was rocking and had to be reseated anyway.  Don also bought a tank repair kit, but I didn't expect it to end up on my dining room table.  There will be a lot of cleaning happening all around.


Three more posts and this bathroom will be done as far as I can take it. 

Enjoy a safe Saint Pat's day!  

 Have fun with this you-tube quick video link.