
I started with a fabric that I still feel has beautiful color and works great with the colors in my updated bathroom. I actually picked the paint color to work well with the fabric, so it better look good. I had some instructions from my best friend, Lu, to create roman shades, but, instead, I found a kit at JoAnn Fabrics that I expected to make the job easier. (In the end, I do recommend this kit if you have a shade you won't need to open and close often.)

I carefully measured the lining material (darker fabric) for this shade with the intention to fold it over the edges of the linen in order to end up with a border. This customization will be my demise.

The instructions in the kit tell you when to add trim, but do not tell you to make the lining do double duty as a border. In addition, the instructions say to cut the lining 12 inches from the top of the shade. This didn't work out very well because you can see the sun shining through where the lining comes up too short. Even worse, when I read the instructions to cut the lining, I didn't think of the fact that I would be cutting the same material that was supposed to be used as a border. (Honest, no wine was involved in the making of this shade!) Once cut, I had to go to plan B. I used the leftover lining material to create edge banding. I cut 3 inch strips and folded them and pinned and sewed them to the edge of the linen.
 |
| Use soap to mark fabric. |


One tip I can offer is to save your practically used up skinny bars of soap to mark fabric. It shows up great on dark fabric and can be washed out or removed easily.
The end result included a short attached valance at the top. It still looks pretty lying flat on the surface I was working on.

Once installed over the top of the window, I feel it looks flat and out of place. When it is drawn up, I think it looks fine, but fully extended, it is just a rectangular piece of fabric hanging on the wall. I am done with it! I'm not an expert. I tried. I may try in the future, but I'm done for now.

 | |
| See how the light shows through at the top...not intended. |
I had hoped to have a great tutorial to create a roman shade in this post. Well, instead, I plan to have a few. They are not mine, but they are links to some sites that seem to know what they are doing. Enjoy!
This one from 'Addicted 2 Decorating' has a nice arch at the bottom:
This one uses an old mini blind - you can get them on the cheap at Habitat Restore! I might try this:
If you like YouTube, here's a detailed demo, but I would change the way they attach the dowels - I would sew a folded strip of fabric to the shade fabric to encase each dowel:
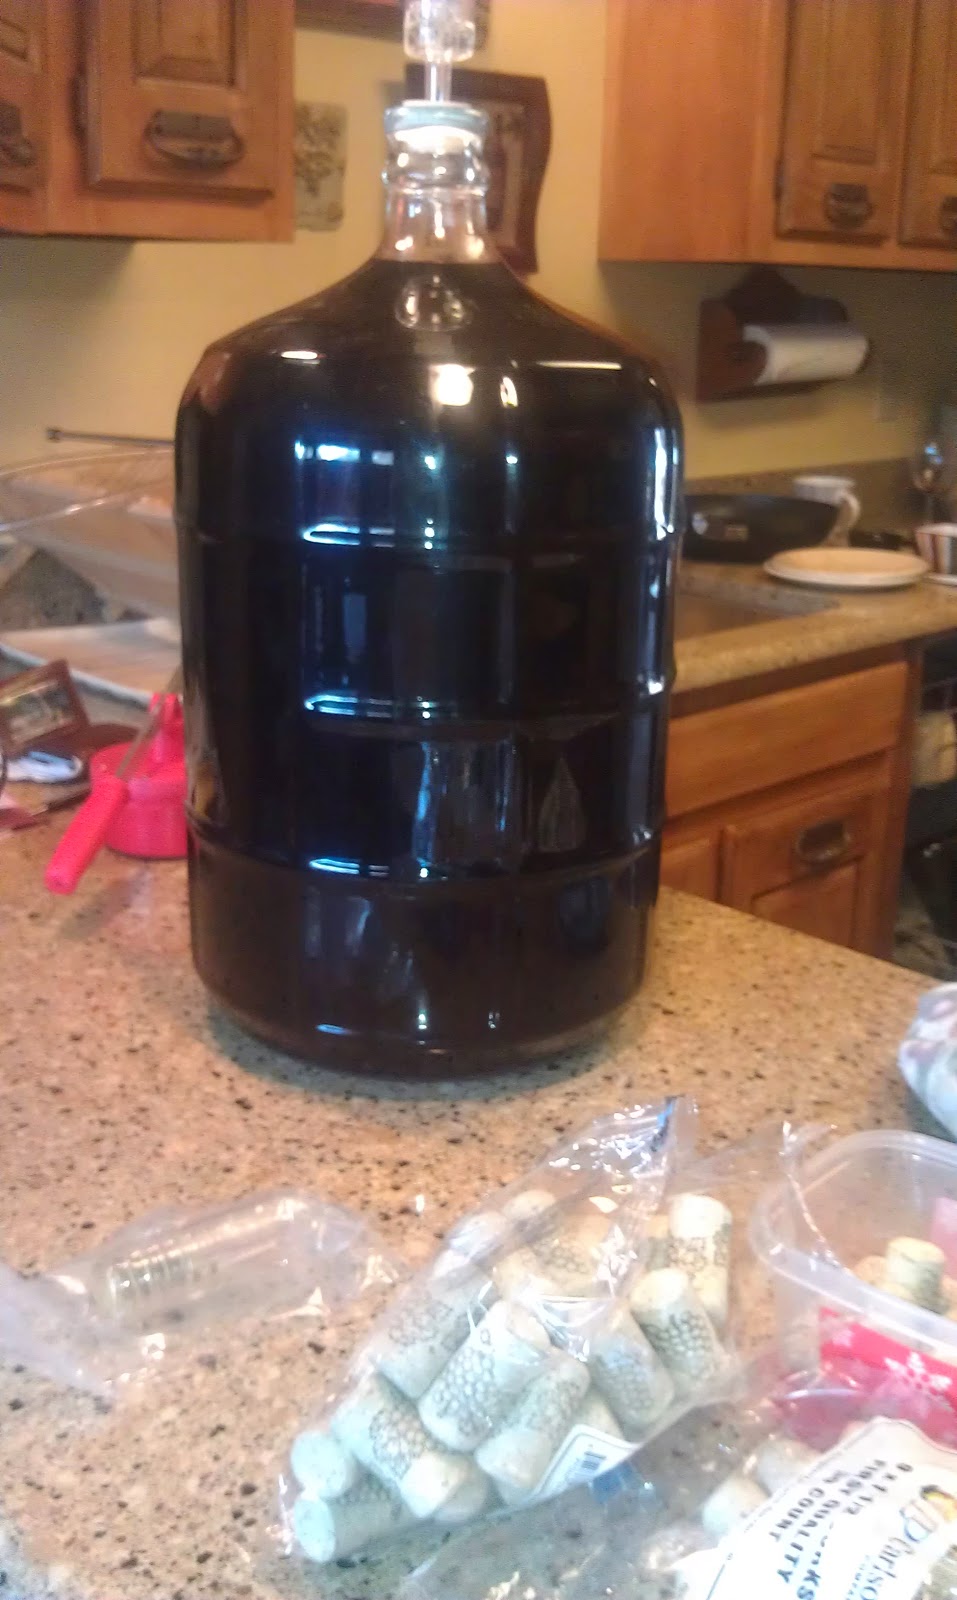
Time to take a break and bottle some wine. This one is called 'It Takes Two' and is made from the Marquette grapes Don and I picked in September 2013. It's the best we've made to date!


Brivero has a wide range of faucets and fixtures available that single handle bathroom faucethave been designed for both bathroom and kitchen applications.
ReplyDelete