Navigation Pages

Showing posts with label plumbing. Show all posts

Saturday, March 21, 2015

Shower: Estimates and Demolition


I've been interviewing plumbers to get an estimate on rebuilding our shower base as well as building and waterproofing our shower walls so that I could tile.

The first plumber let me know that rebuilding a cement base would be an extravagant cost that he doesn't do, but he knew a guy that did it.  He even called this guy while in our home for an estimate which ended up being around $2300.00 sight unseen and didn't even include waterproofing the walls.  This plumber's estimate of over $1400.00 included three parts:
  1. Redoing the drain pipes to code.  Apparently, in 2003 when we had our tub turned into a shower, they did not give us the right pipe diameter.  We have had no problems with draining our shower, but code is code!
  2. Replacing the pressure valve and shower trim.  A pressure valve helps control the water temperature when water is used in other areas of the house by regulating the pressure.  The shower trim includes the handle to turn on the water and the back plate that covers the hole for this handle.  Again, we have had no problems; however, I do want to change out our brass shower trim for an oil rubbed bronze finish.  I had planned to get my current trim powder coated, so I really didn't need this in the estimate.   (More on powder coating later.)
  3.  A fiberglass shower base and drain.  The idea that this would cost less then the cement base was intriguing.  The fact that his estimate stated a 'chrome' drain along with all the other 'additions' led me to believe this plumber was just adding up his profit.

The second plumber - actually both 'plumbers' were estimators for their employers.  They may have had a plumbing background, but their job was to assess the project and provide an estimate.  So, why am I still waiting for the second plumber's estimate?  It has been over a week.  He also suggested updating the pipes to code and to use his company's brand of shower base, along with a new pressure valve and trim.


Today, I might have found my shower installer!  He doesn't do plumbing and did not suggest new shower trim or plumbing changes.  His estimate for creating a cement shower base and water proofed walls ready for tiling was $900.00.  He doesn't give written estimates.   WHY IS THIS SO HARD?  The only reason I'm considering him is because he was referred by a local interior designer and he has been in the business for many years.


Well, regardless of who will be rebuilding our shower, we still need to demolish the old one.  I purchased an angle grinder and a diamond blade disc to aid in cutting through the tile and grout.  I picked up a sturdy face mask knowing that the air would be filled with grout and ceramic powder.  We also picked up a 'Bagster' which is a flexible dumpster bad that will be picked up by Waste Management when we call them.  It holds 3 cubic feet of debris and should hold our shower walls and floor and a few other items we need to get rid of.  Here's a few pics of the fun.

Don starts in on the niche wall.

I held a fan up to the window to try to exhaust the dust.


I was pretty tired at this point and didn't realize I was being filmed. 


At the end of the day, we left the shower floor, a few tiles in the niche wall, a very dusty mess, and damaged drywall to deal with the next day.


Have you had the challenge of demolishing a shower or other structure in pursuit of something new and improved?  Enter a comment below and let me know if it was as fun as they show it on HGTV!

Thursday, March 27, 2014

Bathroom - A little spring fever coming on


I have allowed myself up through the end of April to get through the bathroom portion of my 3 room challenge.  I'm on target of course since I've decided to only do half of the room.  It has been exciting to make progress, but this time of year it is getting tough to keep focus on interior projects.  Our weather here has helped in the sense that the temps have been hovering around the freezing mark. 

Even with the freezing weather, my mind has been turning to other things...visiting our daughter in Ohio, getting taxes done (yuk!), thinking about the last room of this challenge, keeping on budget on this challenge, when will I be able to rake the leaves we left on our lawn last year (there were a bunch), when can we open the cottage, and boy, do I have a lot of clean up to do before even tackling the last room.

It is hard to say what the biggest change is for this bath remodel.  I thought it would be fun to attempt a time lapse photo presentation, so I've been taking shots since January and trying to keep the camera at the same angle.  It's been on a tripod, but I've had to put it away every day.  The pics have been taken at various times of the day so lighting varies, but take a look at this:


Installation of my beautiful counter top

Drilling holes into the bottom of the counter top was stressful.  I needed to do this to install the pieces that would hold the screws in place for the sink supports.  I started out with a drill bit that I thought was a masonry bit, but after almost 1/2 hour alternately drilling and putting the bit into cool water to keep it from melting off, I decided to look up what a masonry bit is.


Notice the tip - this IS a masonry bit
Smoother tip - NOT a masonry bit


With the right drill bit and some patience, I drilled 4 one half inch holes in about 1 hour without breaking the bit or the counter.


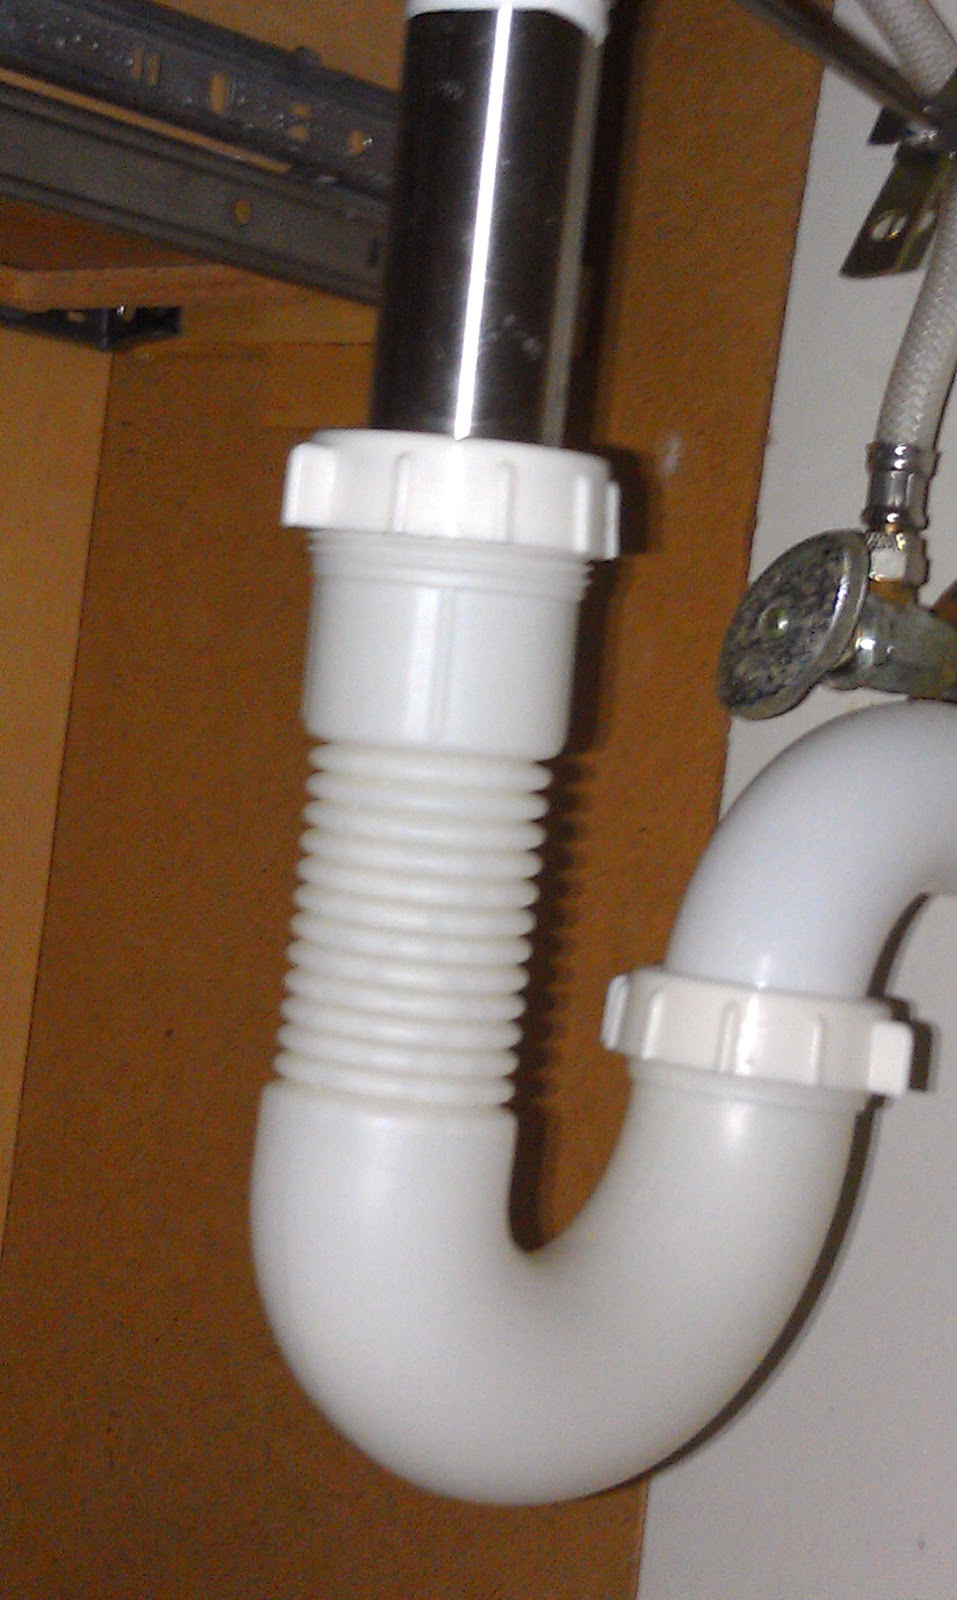
After installing the faucet on the counter and the counter on the cabinet and the sink under the counter, we found our drain was not in line with the existing pipes, so I sent Don off to the hardware store.  Three trips later and a bunch of extra parts, we found the right combination to allow the faucet to run and not leak.


What's next?  

The electrician is coming back to do the final switch hookups and to install my lighting.  Which of these lamp shades do you like best?  The one on the right came with the lighting fixture.  The one on the left was a find at St. Vincent's in Verona.


I'll add the mirror after that and make a roman shade for the window.  After some clean up in the shower area on the other side of the room, adding accessories (towel bars, towels, etc), and adding up receipts spent on this room, I'll be able to call this portion of the challenge done.

Can't wait for spring, so here is a little of it, thanks to photobucket.com.

Couldn't resist this one!

Hope you'll check back in two weeks.  I should be sewing up a roman shade.