Navigation Pages

Thursday, May 8, 2014

Home Office - Let's get started!

Last, but not least, the final portion of my challenge is my home office/den.  If you only knew all the renditions I've gone through in setting a direction for this room's makeover!  My husband is exhausted with all the changes I've made him review for me. I started thinking about this a long time ago, but did some concrete space planning during my first class toward getting my Professional Home Decorating certificate.

This is not the final layout

I won't be making a shade based on my last attempt!
During my Home Decorating 1 class, this was my inspiration...a Pottery Barn catalog page showing white furniture and plenty of cork boards for viewing design options.  I was drawn to the colors because they are part of the color scheme I currently use at home - rusts, greens, and tans.  The white is a refreshing change from the other wood tones I've been working with in this challenge.


My current home office is quite embarrassing.  I've been behind on filing and general up keep.  We have been using this room as a dumping ground ever since we got a laptop.  We have 3 bookcases that my family shares.  We each have our own bookcase and the idea is that each of us is responsible for the upkeep the way we want it done.   Note that this is the view that any neighbor looking through our window on an afternoon walk would see.  Goal #1 - Make this mess disappear!


I've been online searching, searching, searching, (and did I say searching?) for fabrics to carry out the vision inspired by my inspiration room.    Here are the main websites I searched that I think are very good, reasonably priced, fabric sources:
 http://www.onlinefabricstore.net
http://warehousefabricsinc.com 
http://www.buyfabrics.com

During my search, I wanted to find a fabric with at least 3 colors so I had something to work with to pick out paint colors and other fabrics.  I looked at so many fabrics that I had to start an MS Word doc to save the images and links so that I could organize them into combinations I might be able to use.

Sticking with the warm colors for the most part I put this together:
I like this combination quite a bit, but it seems far too vibrant compared to my Pottery Barn inspiration picture.  I found a picture which really looks very professional and I thought this was the way to go, but Harmony and Don said it looked like a lawyer's office, not a home designer's office:

I'm still in love with this look, but I'm trying to take advise from those that I know love me and have my best interests at heart.    Never the less, Goal #2 - Make this office look professional.  So I continued my pursuit.  I ordered a few samples of fabric and found one I liked.

Evelynne Baltic

Now on to choosing a paint color - so many decisions and so little time.   Okay, I just can't make up my mind.
Drizzle, Mariner, Quietude, Watery

Trying to pull out a color from a Pier 1 flyer
I narrowed it down to Drizzle and Mariner...Sophisticated or Vibrant?  Too dark, Too bright?  Arrrrgh!
Do you get the idea, that I've moved completely away from the warm colors and am now contemplating cool colors?  I also considered giving up this fabric completely and going with doing a wall stencil.  I think this stencil is very cool and thought of mimicking a painting by using multiple colors as a base, with white for the bark.  You can find the stencil at Cutting Edge Stencils.

Painting inspiration

Stencil with blue background
I sat in the empty office, staring at the paint samples, and a painter's tape mock up of the outline for the shelving I plan to build/buy.  If I had a heftier budget, I may have been able to move forward with one of the original ideas I had in mind.  There is also a time factor and based on the fact that this is the season for visiting our lake cottage, I have only about 5 weekends I'm willing to schedule strictly for working on this room.

I was planning on using the fabric I picked for draperies flanking plain white drapery to cover up the bookcases, but the amount of fabric I needed put me over budget.  I finally made up my mind and pushed myself forward by ordering the material to make a padded valance over the 3 bookcases and over the window instead of drapery.  I also ordered the plain white fabric for the drapery I still intend to use to cover the bookcases and the window.

This new concept is far from the one I started with, but it is now in motion, so wish me luck.  The paint color is my biggest worry.  Goal #3 - Make this office inviting so that it is used as an office rather than a dumping ground.

Not sure which light I'll end up with.  First choice is the one on the right - Cost: over $700!


Wednesday, April 23, 2014

Bathroom - Finale

This is it.  The longest part of this 9 month challenge is done.  The bathroom work started in January.  I now have a bathroom I'm proud of, even though the makeover was scoped down to mostly one side of the room.  The challenge is to make over 3 rooms in 9 months for $3000.00.  This means timing, money, and scope need to be managed.  I hope you are not disappointed that I've scoped the bathroom down to doing one side, plus the addition of a light in the shower.  By doing only one side, I still had the added challenge of making the old finishes work with the new.  Let me know what you think of the result - here's the Before and After pics...

Before
After
The color scheme overall is similar.  Before, I had wallpaper with a green leaf pattern.  Now I have what I want to call 'green apple'.  My mom called it 'avocado' which made me bristle at first because this is an old fashioned color, but it really does look like the fresh inside of an avocado!  

The cabinet height has been increased and they have been stained a nice warm reddish wood tone.  The baseboard and window/door trim is painted white and the counter top and sink look fresh and bright.


The mirror was purchased some time ago with the idea that I would eventually use it in this bathroom.  I did not change the finish on the frame, in part, because this was one way to tie into the existing brass/gold finish on the shower door.  Someday I will add a back splash.


No more snakes and bamboo.  I did buy a snail figurine to bring the white up to the top of the medicine cabinet.  I added a ginger jar I already had to bring in another shade of green and some of the coral/rust color from the roman shade.

I found a container for cotton balls at Savers that has similar stripes to the tiny vase I already owned. 


The towels and area rug are the second (preferred) choice.  I initially purchased really soft towels that were bright white with a green stripe accent.  I brought them home and they looked washed out and made no impact to the decor.  The rust color towels are a great accent matching the flowers in the shade and bridging the tiles in the shower to the newer features.  The area rug is a bit small.  I bought a second one intending to sew the two together, but they ended up being slightly different in size and color so I returned one to Target.  I like how the rug has some green, some white and some beige to match the walls, trim, and floor, respectively.


I have so much more storage now with the two new medicine cabinets I made.  I'm still playing with the decorative items on the counter - added the plant on the right and rearranged other items.


I had the electrician put the GFCI outlet inside the cabinet on my right which is where I would plug in my curling iron or hair dryer since I am right handed.


I don't mind admitting how I smile every time I can put away my curling iron without waiting for it to cool off since I added a metal container to the drawer where I now store the iron.  (Gotta have a lighter for candles!)


I used a candle base as a base for my water glass.  I was just looking for something that would give some impact to the right side of the sink.  I found this beaded candle 'dish' (already owned) that matched the metal finishes in this bathroom and used it to make my water glass stand out.

I'm glad I chose the white lamp shades for the lighting fixture instead of the ones that came with it.  I was fortunate to find them at one of the second hand stores I frequent - at the right place, at the right time!

The budget was hit big time for this room mostly because of the counter top choice and the hiring of an electrician.  It was totally worth it.  I made up for it with the great finds like the sink at Habitat Restore and building my own medicine cabinets.


The last room for this challenge, the foyer, cost me $289, so this means I have $597 left for the last room of this challenge.  I'm sure I can work with that.  Especially since I finally found something to house my files after searching for affordable lateral credenzas throughout this challenge.  You'll have to come back to see what I found!

If you think you need something to look forward to, take a look at this link: 

 There is apparently an abundance of significance to the month of May - besides my birthday!


Friday, April 11, 2014

Bathroom - Making a Roman Shade: Hit or Miss

I have sewing skills.  I have planning skills.  I know the carpentry rule to measure twice and cut once.  I've never worked with linen and I've never created a roman shade.  Everything would have worked out fine if I hadn't tried to customize the instructions the roman shade kit provided. 

I started with a fabric that I still feel has beautiful color and works great with the colors in my updated bathroom.  I actually picked the paint color to work well with the fabric, so it better look good.  I had some instructions from my best friend, Lu, to create roman shades, but, instead, I found a kit at JoAnn Fabrics that I expected to make the job easier.  (In the end, I do recommend this kit if you have a shade you won't need to open and close often.)


I carefully measured the lining material (darker fabric) for this shade with the intention to fold it over the edges of the linen in order to end up with a border.  This customization will be my demise.


The instructions in the kit tell you when to add trim, but do not tell you to make the lining do double duty as a border.  In addition, the instructions say to cut the lining 12 inches from the top of the shade.  This didn't work out very well because you can see the sun shining through where the lining comes up too short.  Even worse, when I read the instructions to cut the lining, I didn't think of the fact that I would be cutting the same material that was supposed to be used as a border.  (Honest, no wine was involved in the making of this shade!)  Once cut, I had to go to plan B.  I used the leftover lining material to create edge banding.  I cut 3 inch strips and folded them and pinned and sewed them to the edge of the linen.
 
Use soap to mark fabric.

One tip I can offer is to save your practically used up skinny bars of soap to mark fabric.  It shows up great on dark fabric and can be washed out or removed easily.

The end result included a short attached valance at the top.  It still looks pretty lying flat on the surface I was working on.


Once installed over the top of the window, I feel it looks flat and out of place.  When it is drawn up, I think it looks fine, but fully extended, it is just a rectangular piece of fabric hanging on the wall.  I am done with it!  I'm not an expert.  I tried.  I may try in the future, but I'm done for now.


See how the light shows through at the top...not intended.

I had hoped to have a great tutorial to create a roman shade in this post.  Well, instead, I plan to have a few.  They are not mine, but they are links to some sites that seem to know what they are doing.  Enjoy!

This one from 'Addicted 2 Decorating' has a nice arch at the bottom: 

This one uses an old mini blind - you can get them on the cheap at Habitat Restore!  I might try this:

If you like YouTube, here's a detailed demo, but I would change the way they attach the dowels - I would sew a folded strip of fabric to the shade fabric to encase each dowel:


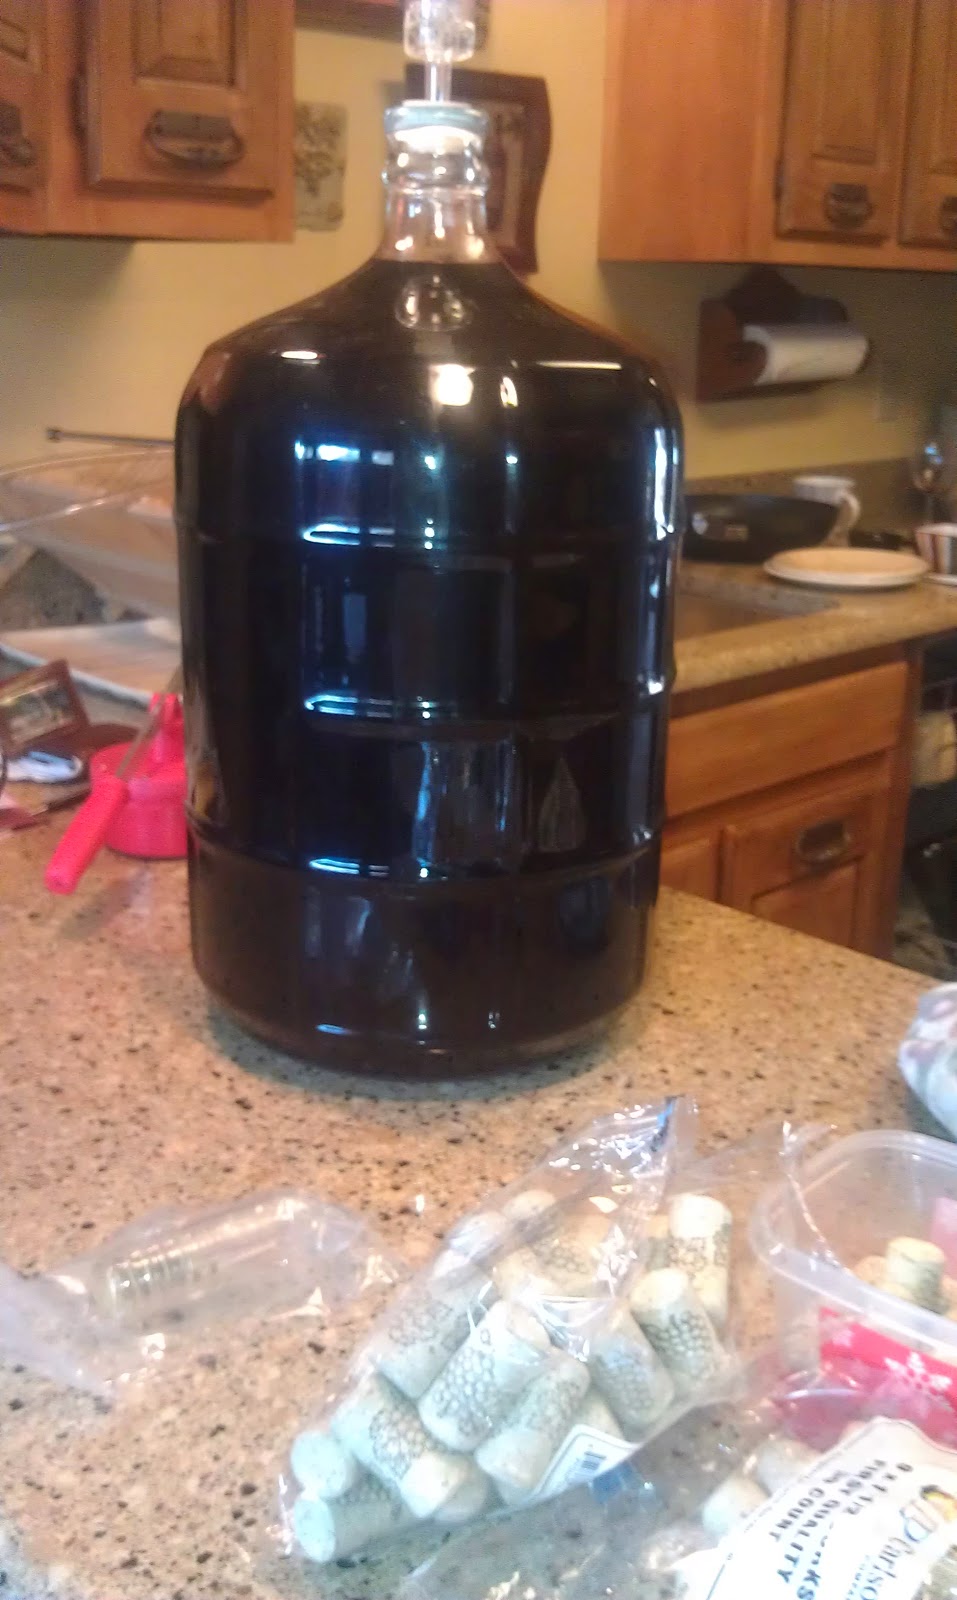
Time to take a break and bottle some wine.  This one is called 'It Takes Two' and is made from the Marquette grapes Don and I picked in September 2013.  It's the best we've made to date!


Hit or miss?  I'll call the roman shade a bit of a miss; however, I'll call the completion of this portion of my challenge a hit.  Come back in two weeks and see before and after pics of the 2nd room of this challenge - the bathroom.